How To WhatsApp using ActiveCampaign
How To WhatsApp using ActiveCampaign
Engage with your contacts using WhatsApp
WhatsApp is the most used messaging app in the world with 1.6 billion active users. Using this application to implement your marketing strategy will allow you to be in contact with your leads and clients more directly. What better way to implement your strategy than to make use of automation? And what a better way to automate it using ActiveCampaign?
If you still don’t know what ActiveCampaign is, it’s a platform that allows you to create and automate your workflows for your marketing campaigns by importing your contact lists, and it allows you to get all the reports and important behavior data for them. You can see more information about its characteristics at this link. You can also try it for free for 14 days.
If you already use ActiveCampaign and want to know how you can send WhatsApp messages through it, read this tutorial.
First method
The first method is the easier, but the one with the least capabilities, since it only allows you to send WhatsApp messages in real-time, one by one and without automation:
Before starting, consider that you must have an active WhatsApp account on your mobile device, if possible, consider setting this account as the default to send text messages from your device.
1.- Enter the app store from your IOS or Android device.
2.- Look for the ActiveCampaign app.
3.- Install the app.
4.- Once installed, open the app and enter your account providing the login credentials.
5.- Tap the “contacts” option to see your contacts. Select a contact you want to send a message to via WhatsApp.
6.- Tap the chat bubble.
7.- If it asks you, select the option to use WhatsApp to send the text message.
8.- The WhatsApp application will open where you can type your text message.
9.- Once your text message is ready, tap “Send”.
10.- Now you’ve sent your first text message to your ActiveCampaign contact via WhatsApp. You can start sending as many DM’s as you need.
Second method
Step 1. Set a MessageBird Flow
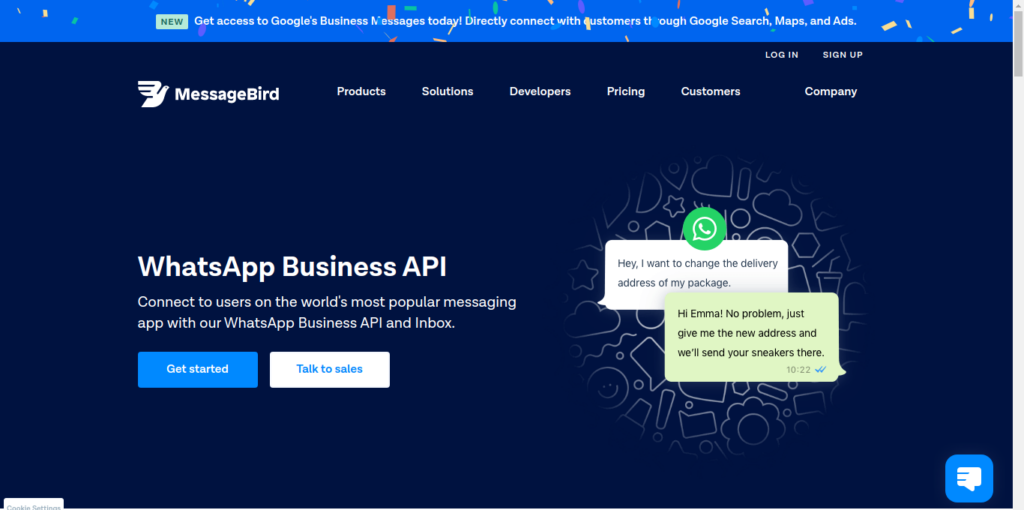
The second method is a bit more complex as it relies on a third-party app called MessageBird. You’ll need to create an account at MessageBird, you can sign up at no cost with a limit of 50 active contacts per month.
1.- When you have signed up, log in with your credentials.
2.- Add the “WhatsApp channel”. You must configure your WhatsApp account to be a verified business.
3.- Create a “Templated WhatsApp message”. Consider using all variables you need in your message to customize it. The variables must be numbers inside curly brackets:
For example, {{1}} for the name of your contact, {{2}} for the name of some campaign, etc.
To know more about the variables for WhatsApp messages, refer to this article.
4.- WhatsApp must approve the template before you can send it.
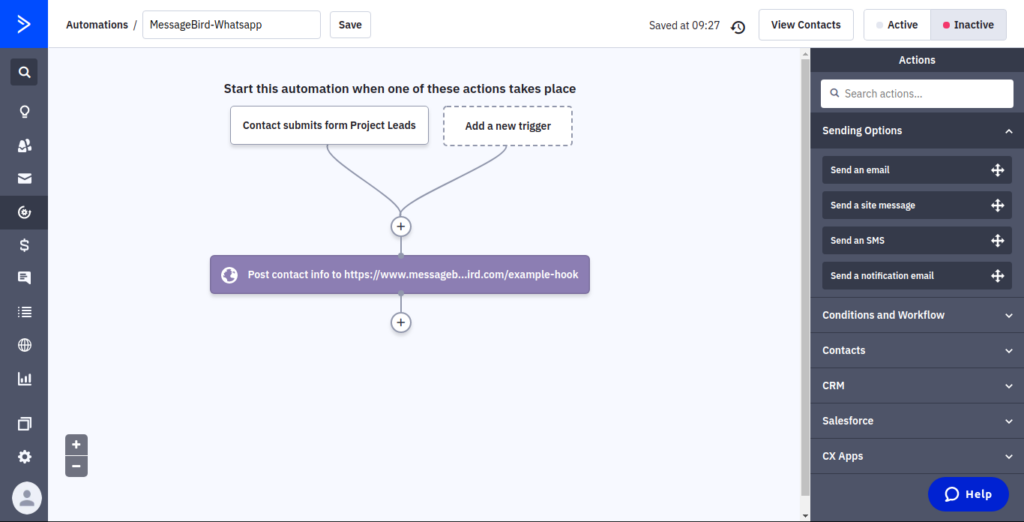
5.- Create a “custom flow” within MessageBird.
6.- Select “webhook” as the trigger for the custom flow.
7.- Add a variable of phone number. Use contact [phone] for this variable. Consider that the contact/contacts must have the country code associated with their phone in your ActiveCampaign list and have an active WhatsApp account, otherwise the message will not be received.
8.- Add the variables that you consider necessary to associate with the curly brackets numbers that you added to your templated message. Each variable in your message template will contain associated webhook variables to receive the data from ActiveCampaign.
9.- Once your templated message is approved, click on the option to send a Whatsapp templated message.
10.- Select your verified WhatsApp account in the “channel” menu.
11.- Set the recipient as “contact[phone]”.
12.- Select the templated message that you just created.
13.- Associate all the variables within your templated message with the variables from your custom flow. For example, if the variable {{2}} was associated with the contact’s name, use contact [name].
14.- “Publish” your flow.
Step 2. Create an automation
Within ActiveCampaign you must create a new automation, or add an action to an existing one where you want to add the sending of messages through WhatsApp.
To create a new automation from scratch:
1.- Inside your ActiveCampaign dashboard, go to Automations. Select “Create an automation”.
2.- Select “Start from scratch”. Click “Continue” .
3.- Add the trigger you want to start your automation with.
4.- Add a webhook action. Go to conditions and workflow and select “webhook”.
5.- It will prompt you for a URL. Go to your custom flow inside MessageBird and copy the URL. Paste the URL into the box. Click “Save”.
6.- If you have finished your automated workflow, set it as “Active” to activate your workflow.
7.- Now you can start sending WhatsApp messages automatically to your contacts from your ActiveCampaign account.
These two methods are the free methods to be able to send WhatsApp messages from ActiveCampaign. In addition to MessageBird you also can use Spoki to send messages automatically, however, Spoki does not offer free plans.
It’s that easy how you can start sending WhatsApp messages using your contacts and automations from ActiveCampaign, now you can start using this popular communication channel to increase your chances of converting your leads and staying in contact with your current customers. Remember that at DigitalME we have our ActiveCampaign managed service, where we can help you create new automations to send WhatsApp messages to your contacts. It also includes 24/7 Support, fully automated email sequences, customized branded emails, and custom API syncs. Don’t hesitate to contact us if you are interested so we can arrange a call.
 IN VALENCIA AND SAN DIEGO