
How to upload your contacts into Maropost
How to upload your contacts into Maropost
Contact Lists in Maropost
Contact lists is one of the most versatile functionalities inside Maropost’s Marketing Cloud, It allows you to create lists manually or import your current ones to feed in your conact database. Once you have it, you can start adding custom fields, segments, and tags. Having your lists properly configured is the first step to launching outstanding email campaigns from Maropost. Then, you can combine it with the tracking tools and report to have the best of the results in your marketing strategy.
The importance of mailing lists
Email lists are important for the sole reason that email marketing is one of the most profitable strategies for all businesses. According to statistics, email marketing has an ROI of nearly 4000%. That means that for each dollar you invest, you get 40. The reason behind that number is that email marketing is more effective to make sales than other communication channels like Facebook or Twitter. According to studies, approximately 40% of people prefer to check their favorite store offers and deals on their email rather than Facebook or other social media. That’s a huge opportunity to develop effective strategies around email marketing. Many Businesses have realized that and have implemented powerful email marketing systems, routed to streamline the process of sending more personal and effective emails. With Maropost you can get those results by using its advanced email capabilities.
Tips to build a list for your email campaigns
If you still don’t have an email list or you’re thinking about a new one, you should follow some recommendations in order to have an optimal list.
-You must not acquire or rent an email list.
-The emails must be verified to be active and accurate.
-The list must be well segmented
-The emails must be listed with users’ permission.
-Be sure that emails are not repeated.
Making a list well-structured and obtained through the right channels it’s the way to go. You can also start obtaining your contact data from these channels:
-Email buttons and text on social media
-Call to action button on your website
-Contact forms
-Surveys
-Referral programs
-Deals and offers
How to upload contacts with Maropost
Start uploading your contacts with Maropost is super easy, and you can do it in bulk or individually. It’s recommended that before uploading your lists of contacts you review it so it’s clean and optimized. That way you can start using them as soon as uploaded.
Upload your contacts
Adding a List
To start uploading your contacts, you need to create a list of where those contacts will be placed.
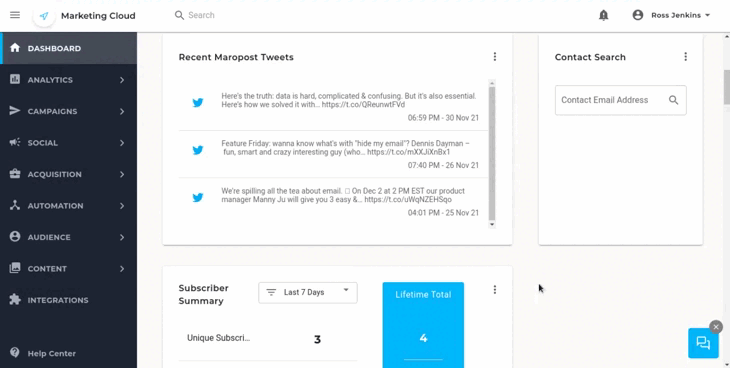
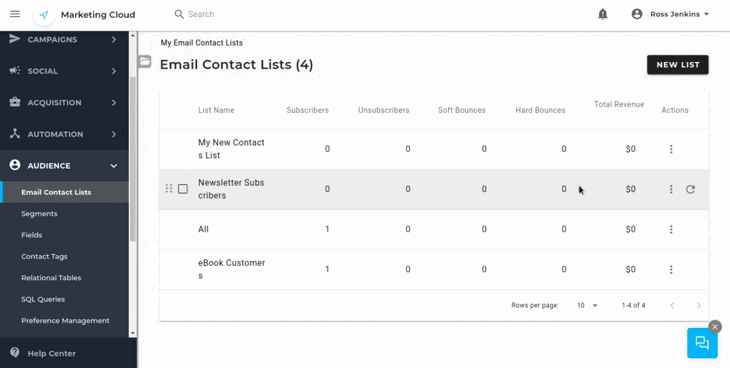
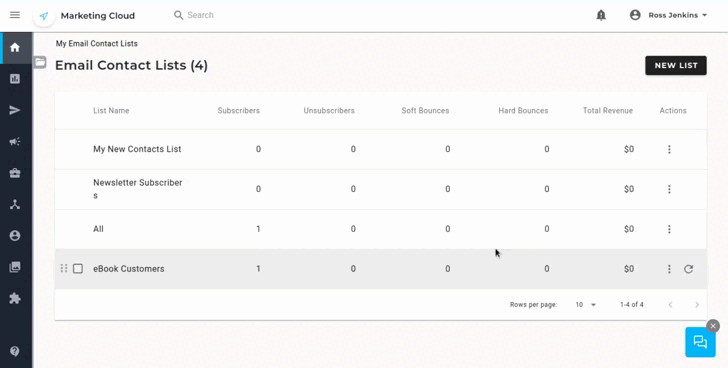
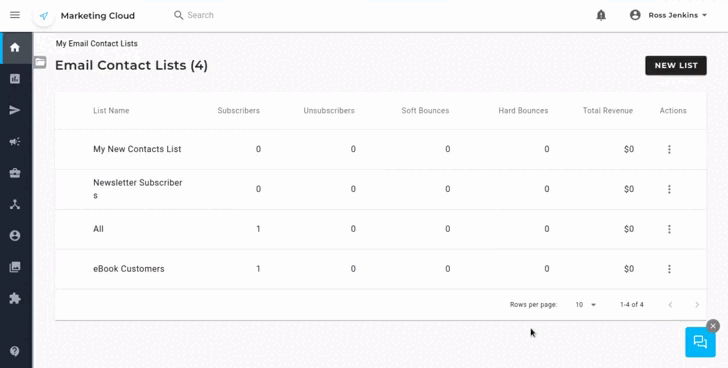
1.- Go to your main dashboard and click on the “AUDIENCE” tab. Look for the “Email contact Lists” and click on it.
2.- There you will see the lists already created. To create a new one, click on the “NEW LIST” button.
3.- Fill in the required fields. The “From Name”, “From Email”, “Reply To” and “Address” fields will be the default fields about your business when sending emails to that list. If you’re planning to use webhooks for your list you can add the URL for it in there.
4.- When everything is correct, click “SAVE”. Your new list will be created.
To upload a contact manually
1.- Click on the three dots on the list you’ve just created. Click on “View Contacts”.
2.- Click on the “NEW CONTACT” button.
3.- Fill in the requested fields. You can add tags if you have some already created. Set your contact as “Subscribed” if your contact has an active subscription. You can also add custom fields that you have to create on the “Fields” screen.
4.- Enable “Do not trigger Journey Campaigns” if you don’t want your contact to be triggered for active journeys.
5.- To add the contact click on “SAVE”.

To upload contacts automatically or in bulk:
1.- Click on the three dots on the list you’ve just created. Click on “View Contacts”. Click on “Import List”. Select the type of import you want to follow. The most practical is the “File Import” one.
2.- Choose the file you want to import. Your file must be properly structured to be imported correctly. Be sure to include all the fields you need to import and if you have custom ones in Maropost, include them in your file.
3.-Choose the delimiter. The most common one is “Comma”. Click “CONTINUE”.
4.- Check the Import New and Update Contacts options. Choose the “Do not trigger Journey Campaigns” option if you don’t want them to be triggered for active journeys.
5.- Then you’ll need to map your fields so the fields in your file match the fields in your Maropost account. You can import tags by adding a tag field in your file. Match the custom fields if needed
6.- Match the field for subscription status. If your contact is subscribed its field should be 1 and is unsubscribed it should be 0.
7.- When all is in place click on “SAVE”. Your list will be created.
That’s how you upload your contacts in Maropost. Remember to keep your lists of contacts updated and clean as it will make your campaigns more efficient. Also remember that if you need help creating your lists, or sending your campaigns through Maropost, we can give you advice and help you implement them through our managed services. If you’re interested don’t hesitate to give us a call, and we’ll reach to you as soon as possible.
 IN VALENCIA AND SAN DIEGO